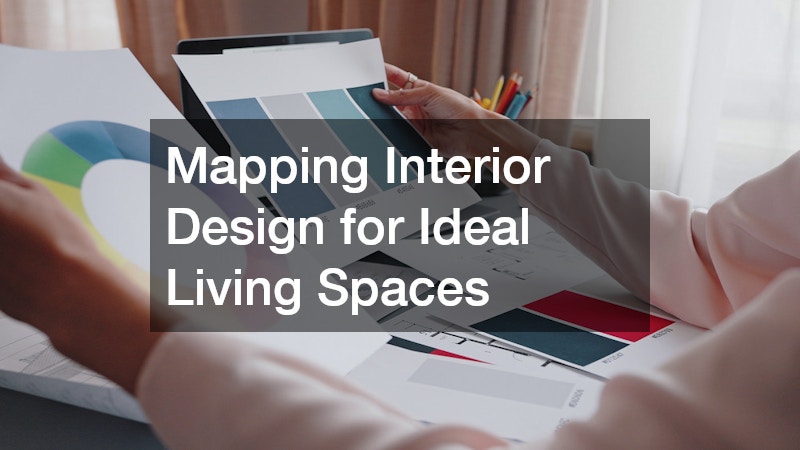
Stepping into a vast home improvement store or navigating through the seemingly infinite galleries of digital design boards can swiftly transform from a thrilling creative endeavor into an overwhelming task. Amidst the myriad of choices, your imagination might be instantly captured by singular pieces—perhaps a set of striking geometric tiles that promise a modern edge, a lush deep emerald green paint swatch that suggests elegance and calmness, or a sleek minimalist light fixture that encapsulates the essence of contemporary style. These elements, in isolation, might appear ideal. However, the reality of interior design often reveals a different tale when these pieces are brought into the same room. The individual allure of these items can fade, overshadowed by disharmony when combined, failing to create a cohesive visual narrative. Without a well-conceived strategy from the outset, home renovation projects can become plagued by the onset of decision fatigue, the creeping rise of unexpected expenses, and ultimately, a final aesthetic that falls flat—disjointed and incohesive rather than the envisioned harmonious whole.
To cultivate a home environment that embodies the serenity of a sanctuary while being impeccably functional, interior design must change from a series of disjointed shopping excursions to a thoughtfully designed journey. This transformation involves meticulously mapping out your ideal interior design. It begins with a comprehensive audit of your physical living space, taking into account its dimensions, unique features, and constraints. Following this, you should define your specific lifestyle needs, understanding how you interact with your space and what it requires on a daily basis to serve you best. It’s also crucial to comprehend how various materials interact, considering factors such as durability, maintenance, and how they align with your aesthetic goals. Furthermore, recognizing the roles of different professional trades—from electricians to carpenters—and how they collaborate in this intricate puzzle is essential. Together, these steps forge a path to a home design that is not only visually arresting but also serves as a true reflection of your personal style and functional demands.
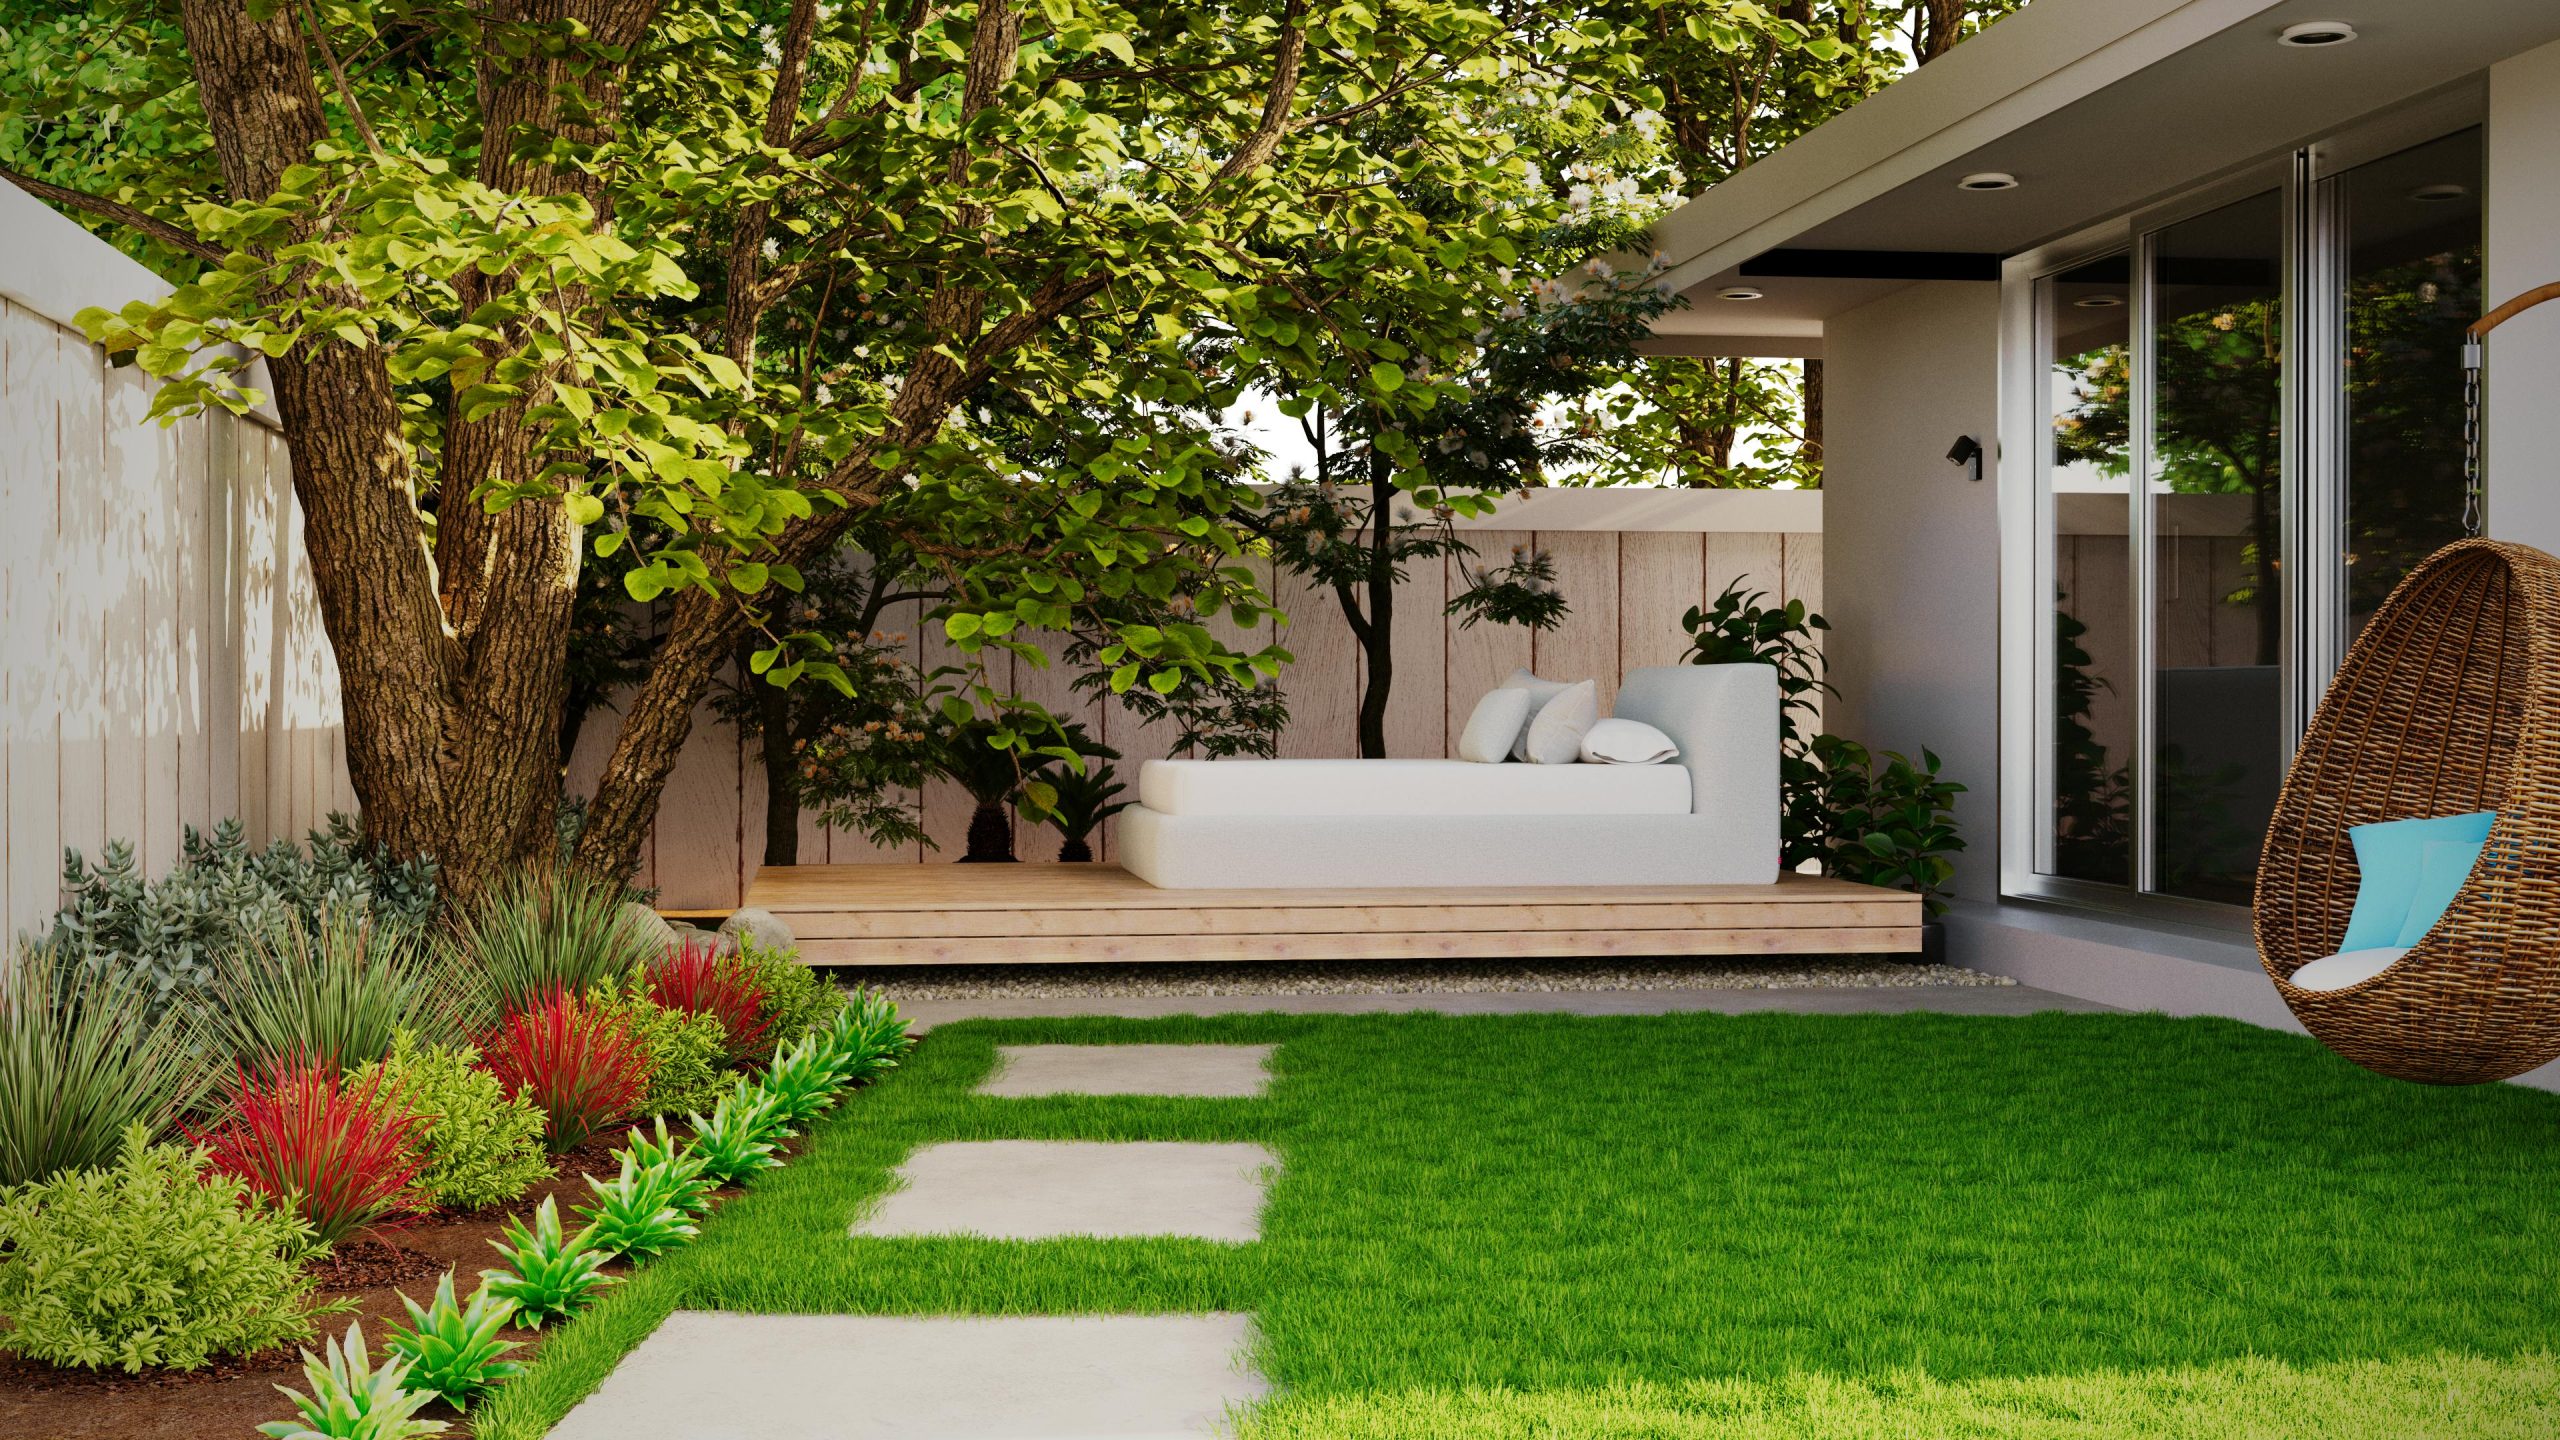
Auditing Your Space and Defining Your Core Aesthetic

Before you look at a single fabric sample or paint chip, you must conduct a thorough audit of your current living conditions. A successful design map bridges the gap between how a space looks and how it performs on a daily basis.
Evaluate traffic patterns and spatial bottlenecks
Begin by tracking your household’s daily movements for a week. Notice where people congregate, where clutter naturally accumulates, and where physical pathways feel cramped.
- Identify the primary pathways through each room and ensure they require at least 36 inches of clearance for comfortable movement.
- Note structural constraints like load-bearing walls, poorly placed radiators, or fixed columns that cannot be easily moved without massive structural engineering costs.
- Evaluate the natural light entry at different times of the day, as a room facing north will require a vastly different color palette and lighting strategy than one flooded with southern afternoon sun.
Curate your visual direction without getting overwhelmed
Once you understand the physical limits and opportunities of your floor plan, you can begin exploring aesthetics. To avoid the trap of combining too many conflicting styles, narrow your focus down to one cohesive theme, such as Transitional, Modern Organic, or Industrial.
- Use the 60-30-10 color rule to establish a balanced palette: 60 percent of the room is dominated by a dominant neutral (usually walls and large rugs), 30 percent consists of a secondary color or texture (furniture and window treatments), and 10 percent is reserved for bold accent colors.
- When planning your light control and privacy, consider how different window treatments alter the room’s mood. For instance, incorporating custom blinds allows you to control glare on television screens or work surfaces while maintaining a clean, streamlined look that complements a modern aesthetic.
Revitalizing the High-Traffic Hubs of the Home
The kitchen and the primary bathroom are universally recognized as the two most complicated, expensive, and value-driven zones in any household. Transforming these spaces requires a meticulous balance of technical layout planning and beautiful material selection.
Maximize efficiency and ergonomics in the culinary zone
The kitchen is no longer just a place to cook; it is a homework station, a social gathering spot, and the logistical command center of the home. When undertaking a comprehensive kitchen remodeling project, your primary focus should be the optimization of the classic work triangle—the distance between the refrigerator, the sink, and the cooktop.
- Aim for the total distance of the three sides of the triangle to be between 12 and 26 feet to prevent unnecessary pacing while cooking.
- Prioritize vertical storage by extending cabinetry all the way to the ceiling, which maximizes your storage footprint and eliminates dust-collecting ledges.
- Incorporate dedicated pull-out zones for trash, recycling, and heavy small appliances to keep your main counter spaces clear and uncluttered.
Create a sanctuary in tight footprints
Bathrooms require the exact opposite approach; they must maximize every square inch to feel spacious rather than clinical. During major bathroom remodels, successful design relies on clever visual tricks and robust moisture management.
- Opt for a floating vanity to expose more floor tile, which instantly tricks the eye into perceiving a larger room.
- Implement layered lighting by pairing bright, shadow-free task lighting around the vanity mirror with dimmable ambient lighting over the tub or shower area for a relaxing evening atmosphere.
- Ensure your ventilation system is rated correctly for the square footage of the room to pull moisture out rapidly, protecting your finishes from mold and water damage over time.
Layering Materials from the Ground Up

With your structural layouts finalized, you can turn your attention to the hard surfaces. The floors and counter surfaces form the literal and visual foundation of your interior design map, absorbing the most physical wear and tear while dictating the overall color temperature of the home.
Select the right foundation for everyday durability
Your floor choice impacts acoustic quality, underfoot comfort, and how light reflects across a room. If your current floors are scratched, uneven, or outdated, investing in a comprehensive flooring replacement is the single most impactful way to modernize your entire property layout.
- Engineered hardwood offers the genuine warmth of real wood with cross-grain stability that resists warping in humid environments.
- Luxury Vinyl Plank (LVP) provides an incredibly resilient, 100% waterproof alternative that mimics wood or stone, making it ideal for busy households with pets and young children.
- Large-format porcelain tiles minimize grout lines, creating a sleek, continuous plane that works beautifully in open-concept living areas.
Balance beauty and maintenance on workspace surfaces
Counter surfaces are the workhorses of both kitchens and bathrooms. They must resist heat, staining, scratching, and chemical cleaners while serving as a major visual anchor. Choosing your countertops requires a realistic assessment of your lifestyle and maintenance tolerance.
- Quartz is a manufactured material that combines natural crushed stone with resin, creating a completely non-porous surface that never requires sealing and resists stains effortlessly.
- Natural stone options like granite or quartzite offer unmatched unique veining and high heat resistance, though they do require periodic sealing to remain stain-proof.
- Pay close attention to the edge profile; an eased or mitered edge complements a contemporary style, while an ogee or bullnose edge aligns with traditional architecture.
The Power of Architectural Detail and Custom Finishing

A room with beautiful floors and counters can still feel sterile if it lacks architectural depth. The true hallmark of high-end interior design lies in the custom woodwork, transitions, and dividing structures that give a home character and structural definition.
Utilize millwork to add depth and character
Standard drywall can look flat and uninspiring. By engaging professional carpentry services, you can introduce custom architectural elements that instantly elevate a room’s perceived value.
- Built-in bookshelves that flank a fireplace create a clear focal point while offering functional storage and display space for curated decor.
- Installing wainscoting, board and batten, or deep crown molding helps establish a sense of history and permanence, especially in newer suburban constructions.
- Upgrading standard, thin baseboards to robust seven-inch profiles grounds your walls and creates a premium, polished look throughout your hallways.
Elevate transitions between rooms
The doors inside your home are touched dozens of times a day, yet they are frequently overlooked during renovations. Replacing generic, hollow-core builder doors with custom designer doors changes the entire sensory experience of your home. Solid-core doors offer substantial acoustic insulation, blocking sound transmission between bedrooms and active living spaces while providing a satisfying weight when opened and closed.
Open up wet spaces with seamless enclosures
In the bathroom, the boundary between the shower and the rest of the room can completely disrupt the visual flow if handled incorrectly. Working with specialized shower glass companies allows you to design custom, frameless glass enclosures that eliminate heavy metal framing. This allows your tile work to take center stage and keeps sightlines open, making a modest bathroom feel like a luxury resort.
Setting the Mood with Color and Light
The final layer of your interior design map involves the elements that alter how colors and shapes are perceived: paint and natural light modification. These elements act as the connective tissue of your design, smoothing out transitions between different rooms.
Use paint sheen and tone to manipulate spatial perception
Paint is arguably the most cost-effective tool in your design arsenal, but its application requires technical precision. Utilizing professional painting services ensures that your walls are flawlessly prepped, patched, and primed, which is critical because high-quality paint will amplify any underlying drywall defects if applied incorrectly.
- Pay close attention to Light Reflectance Value (LRV), which measures the percentage of light a paint color reflects; a high LRV will maximize a small, dark room, while a low LRV creates an intimate, moody vibe in a study or media room.
- Use different sheens strategically: flat or matte finishes hide imperfections on ceilings, eggshell or satin finishes offer scrubbable durability for living rooms, and semi-gloss or gloss finishes protect baseboards and trim from heavy foot scuffs.
- Ensure color continuity by maintaining a consistent trim color throughout the entire home, even if individual room wall colors change.
Navigating the Project Lifecycle: Timeline and Budgeting

With your design map completely drawn, you must switch gears from creative visionary to project manager. Executing a large-scale interior redesign without a clear timeline and financial safety net is a recipe for stress and incomplete rooms.
Establish a realistic construction sequence
To minimize chaos and prevent newly finished surfaces from being damaged by subsequent trade work, always follow a top-down, rough-to-finish construction sequence.
- Demolition and Structural Changes: Tearing out old materials, moving walls, and re-framing spaces.
- Rough-In Utilities: Installing or relocating electrical wiring, plumbing lines, and HVAC ductwork inside the open walls.
- Drywall and Priming: Hanging new drywall, taping, mudding, sanding, and applying a foundational coat of primer.
- Hard Surface Installation: Laying down flooring, setting tile, and installing heavy stone countertops.
- Millwork and Trim: Fitting baseboards, window casings, interior doors, and custom built-in cabinetry.
- Finish Painting and Fixtures: Applying final coats of wall paint, hanging light fixtures, and installing plumbing trim.
- Window Coverings and Styling: Mounting hardware, arranging furniture, and hanging decorative art.
Protect your finances with a contingency fund
No matter how thorough your upfront research is, opening up walls or removing old flooring will almost always reveal hidden surprises, such as outdated wiring, historical water damage, or unlevel subfloors.
- Allocate a strict 15 to 20 percent contingency fund completely separate from your primary material and labor budget to cover these unexpected discoveries.
- Get all contractor estimates in writing, ensuring they itemize labor costs, material allowances, disposal fees, and permit management to avoid ambiguous mid-project upcharges.
- Prioritize spending on fixed structural elements (flooring, cabinetry, and internal plumbing fixtures) over easily replaceable items like accent rugs, throw pillows, or side tables.
Mapping your ideal interior design is a journey that requires equal parts creativity and discipline. By taking the time to audit your home’s physical layout, establishing a clear aesthetic direction, and understanding how to coordinate various materials and professional trades, you eliminate the guesswork that so often derails home improvement projects. A truly successful design does not rely on fleeting internet trends or impulsive purchases. Instead, it is built on a foundation of smart spatial planning, durable materials, and meticulous execution. Armed with this structured approach, you can confidently step forward to transform your living space into a balanced, functional, and deeply personal environment that will serve your household beautifully for many years to come.